Dienstag, 24. August 2010

Granular Sample/Loop Player

I'm excited to present the the first Max4Life device I actually think is worth sharing. It took me a couple of days to build it, but here it is, at last: The Transormationator! :-)

The principle is easy. The Transformationator splits the audio sample into little bits. so-called grains. You can then define the size of the grains and their pitch. To be honest, it's just a loop that adjusts its size according to the pitch setting, so that the loop always has the same perceptible length. I have then added another loop player that lets you scrub automatically through the sample. So, basically, it's a loop player that loops the playing position of another loop. The result is an incredible noise-machine!

You can get extreme noise out of it, or even the subtlest and creepiest background noises. Just give it a try.


Parameter overview:

Sound: Enables/disables audio output
Clear: Deletes sample and resets scrub-loop length
Tune: Rough tuning of the grains' pitch
Fine Tune: Fine tuning of the grains' pitch
Position: Manually sets the playback position
Gr. Size: Size of the grains
Scrub On/Off: Start/Stop scrubbing through sample
Speed: Playback speed
L Start: Start point of the loop in % (example: 0 starts at the beginning, 100 starts at the end)
L Length: Loop length in ms
Fade In: Defines the length of the fade-in at the beginning of the loop (to avoid clicks)
Fade Out: Defines the length of the fade-out at the end of the loop (to avoid clicks)
Pan: Self-explanatory
Random On/Off: Enables/disables random panning
Pan Speed: Defines the speed of random panning
Volume: Master volume control

Oh yes, nearly forgot. Feel free to download it here:

http://dl.dropbox.com/u/110461/maxupyourlive/Transformationator.amxd

I have also uploaded a short demo video to show you what the Tranformaitonator is capable of! Let me know what you think of it. I am aware of the fact that it is far from being a perfect audio device. I would like to add some more features, such as random playback position and a crossfade function for the scrub loop. I'll get you posted on any improvements.


Thanks for reading (and watching)!!
Cheers,
Matt
Donnerstag, 19. August 2010

Saving Tempo Automation Presets

Are you working with long tracks, sometimes involving more or less complicated tempo automation? Well, I do. I'm involved in a traditional Rock band environment an therefore rather obliged to follow fixed tempo curves. The problem with Live is that it doesn't let you save the tempo automation you've meticulously assembled for one track; and if you want to use the same track in another project, you'll have to do it all over again.
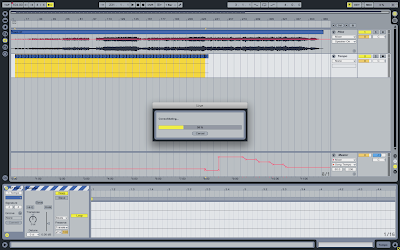
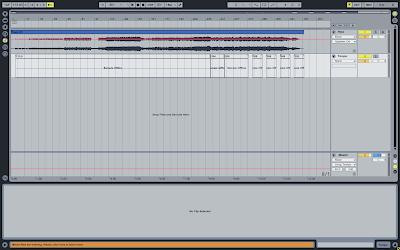
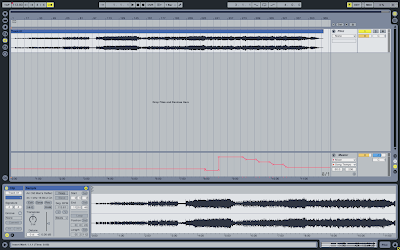
I've found a workaround that lets you save even the most detailed tempo automation curves. Assume we have a finished track with a fixed tempo automation curve. We've imported the track and set the tempo, including falling ramps to make it a bit more complicated.


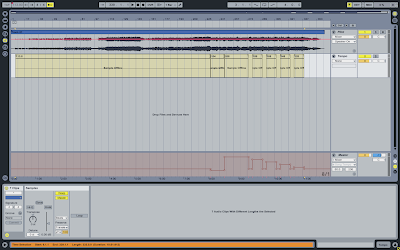
We can see that the tempo automation curve is quite detailed. First we have a long stretch of 113.80 bpm, then it falls down to 104 bpm for a short period. Then it goes up to 208 bpm, eventually gradually falling down to 128 bpm, including some ramps, every 12 bars. And exactly this is what we want to be able to recreate and make accessible in any other live set.

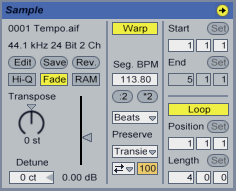
First we create a 4-Bar dummy clip (if you don't know how to create a dummy clip you can read it up in my post on dummy clips). We then set the clip's tempo in the clip box, appropriately to the track's initial tempo (in this case 113.80 bpm). You can find the tempo field just underneath the 'Warp' button, entitled 'Seg. BPM'. Then we place it into the arrangement and duplicate it as many times as is desired for 113.80 bpm. After that, we select all the duplicated clips and consolidate them into one single clip (cmd-J on a Mac and ctrl-J on a PC).


We have now a clip set to 113.80 bpm spanning the time for 113.80 bpm in the arrangement. We now do the same for the next part of the arrangement, the part with 104 bpm. And then the same for the part with 208 bpm. The next step is to ignore the ramps. So we instead concentrate on the 12-bar parts between the ramps. Every ramp falls down by 20 bpm, so we will have a 12-bar clip set to 188 bpm, one set to 168 bpm, one set to 148 bpm, and the the last one set to 128 bpm (don't forget to set their tempo in the clip box).

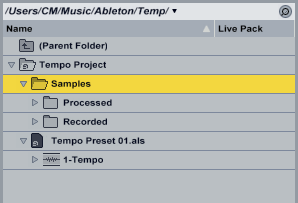
The next thing we do is drag the track into a previously defined folder in the browser. This is the place where we store our tempo automation presets. After doing so, there is the neat part about that technique: We can delete the folder containing the samples associated with our tempo track. The reason for doing this is that we don't need the audio files we have created, we just need the tempo information we have stored in the clips. Another reason is that we end up using kilo-bites of information instead of mega-bites.

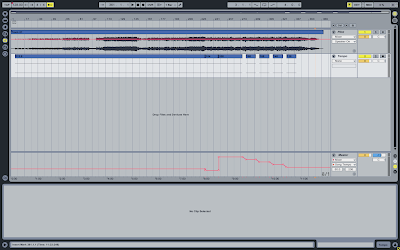
Now we're ready to test our preset. We close the project and drag in the song we've used to create our tempo preset. We then drag in our tempo preset track and align the clips so that they match the song (you'll see Live complaining about missing audio files, but we've consciously deleted them, so just ignore it).


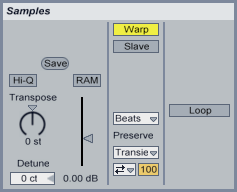
Note that I've set the initial clip of the tempo track according to the first attack of the guitar from the beginning of this tutorial. You can as well set the beginning of your own tempo clips on the first beat of your song, it doesn't really matter. Next thing we do is we select all the clips on the tempo track and activate the little button titled 'Slave' in the clip box. That sets the clips in to 'Tempo Master Mode'. It actually means that they now define Live's tempo automation. We also see that the tempo automation lane is colored red, i.e. locked and in slave mode.


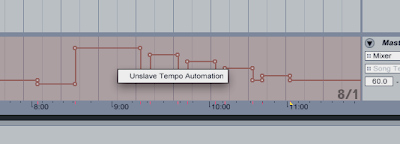
If we now right-click (or cmd-click on a Mac) into the tempo automation lane, we see a dialogue menu entry saying 'Unslave Tempo Automation'. This is what we do.


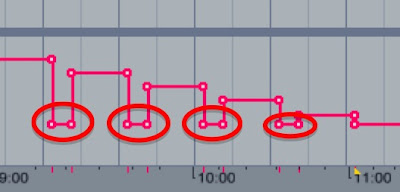
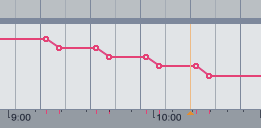
But we can also see that our ramps have disappeared. No need to panic, we just have to delete the additional breakpoints we don't need.


And finally, we've been able to recreate our tempo automation curve, ready to be dragged it into any Live set we want. The only thing we have to do in each case is delete the additional break points in order to get our ramps back. If there are no ramps, it's even easier.

I'm aware of the fact that it takes a bit of time to get the dummy clips aligned that to set their tempo, but I'm of the opinion that it's well worth the effort if you can then just drag in your preset track, set the clips to master, 'unslave' the tempo automation curve and delete the additional breakpoints; instead of doing it manually every time you have to use that song in a Live set.

I hope that this tutorial was any help for you! For me, in any case, this technique is a time saver, as I often work with different Live sets containing songs that I've already got in an other Live set. To manually set the tempo automation is a bugger, we all know that. This here prevents us from doing it more than once.

Thanks for reading!
So long, and cheers,
Matt